Uncategorized
How to change tubes in a tube amp
If you’re new to tubes amps, or even if you’ve owned a tube amp for years but haven’t changed tubes in a while, then you may be wondering how to change tubes in a tube amp. Changing the tubes (can also be called valves) might be a little daunting or leave you wondering what you’re supposed to do.
This article will help step you through what you need to do to get new tubes in your amp so you can get it up and running again.
Step 1 – turn off the power at the wall – for extra safety, remove the plug from the wall socket. As long as the amp is not turned on, then changing tubes is safe, however the safest way is to turn the power off at the wall and unplug the amp, so that absolutely no power is flowing to the amp.
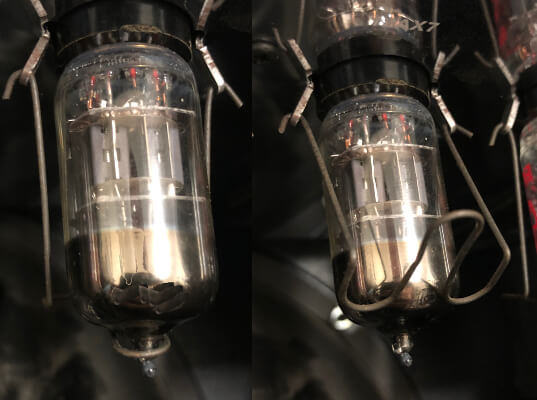
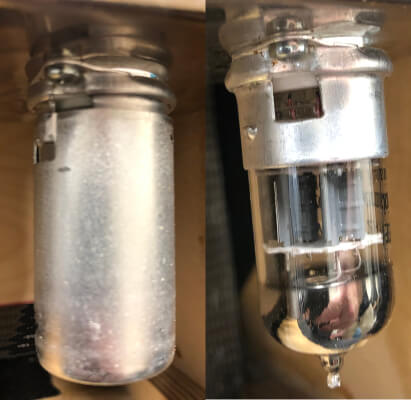
Step 2 – If you have tube retainers, remove them. If you have the metal spring type tube retainers, then unclip them from the tube so that the tube is free to be removed. If you have the metal shield style covers, then push them down, twist them until the lugs line up with the notches and then the spring will push the shield up and they can be removed.


Step 3 – remove your old tubes. Grab the tubes with your fingers and then wiggle the tubes gently from side to side while gently pulling the tubes out of the socket. The sideways motion makes it much easier for the pins on the tubes to come out of the sockets.
Step 4 – get your new tubes out of the boxes and line them up on the table roughly in line with the sockets they will go into. Take special note if you have a mix of preamp tubes like 12AX7 and 12AT7, or 12AX7 and 12AY7, to make sure you put the right tubes into the right sockets. Also take note of any balanced tubes that you are putting into particular positions in the amp e.g. a balanced tube into the phase invert socket.
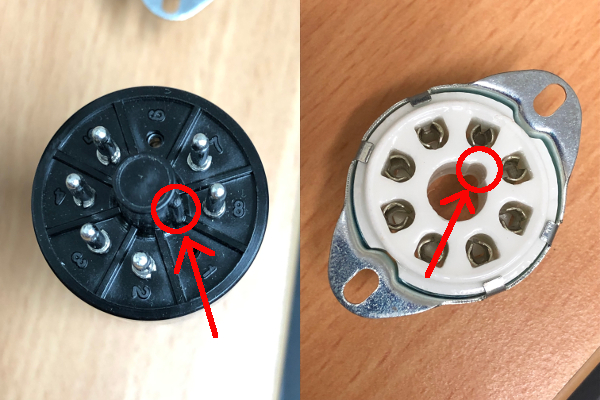
Step 5 – put the new tubes into the amp. If you have octal power tubes – 6V6, 6L6, EL34, 6550 etc. – then firstly make sure that you have lined up the lug/tube guide key on the tube with the keyhole in the socket before trying to push the tube into the socket. You don’t want to be breaking they guide key on the tube as the damage could release the vacuum in the tube.

For 9 pin tubes i.e. 12AX7, 12AT7, 12BH7, EL84 etc., you will need to line up the gap between pins 1 and 9 with the same gap in the socket.

To put the new tube in then much like when the tubes were removed, wiggle the tubes gently from side to side while gently pushing the tube into the socket. They should slide in fairly easily and will then sit in the socket nice and flat when the pins are in as far as they will go.
Step 6 – once you have replaced the tubes and all tubes are back in the amp, then plug the amp into the wall and turn the power back on. Turn on your amp and watch as the tubes heat up to make sure they are working properly. If you notice any issues like redplating or arcing, turn your amp off immediately and seek assistance from a technician.
Step 7 – for amps that require biasing, the amp should be biased after you have replaced the power tubes. As this is an entire process in itself, this will be covered in a separate article!
Now that you have followed these steps, you know how to change tubes in a tube amp!
If you are looking for tubes for your amp, browse through our 300+ tube sets.
To find specifications for your amp, try the websites such as Fender, Marshall and Peavey.


